THE INSPIRATION: Super cute painted sweater originally seen on Anthropologie.
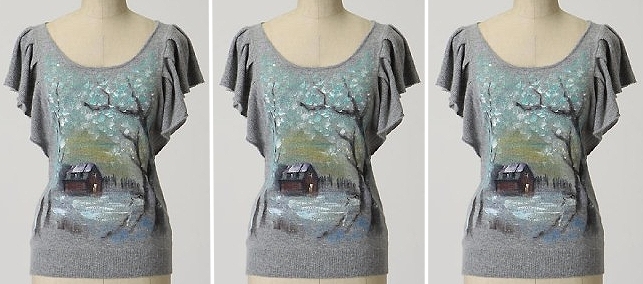
THE CHALLENGE: Anne-Marie from the fabulous wedding style blog Perfect Bound found this adorable sweater on Anthropologie a few months back. She got in touch to see if I would want to partner on a DIY post. I loved the idea of course and was certainly curious to learn more about painting on sweaters!
THE REASON: Now an ebay star, the painted Antrhopologie sweater inspired both Anne-Marie and myself to present an easy project that anyone could tackle who wants to infuse a certain artistry into bridesmaid’s gifts, honeymoon attire and beyond.
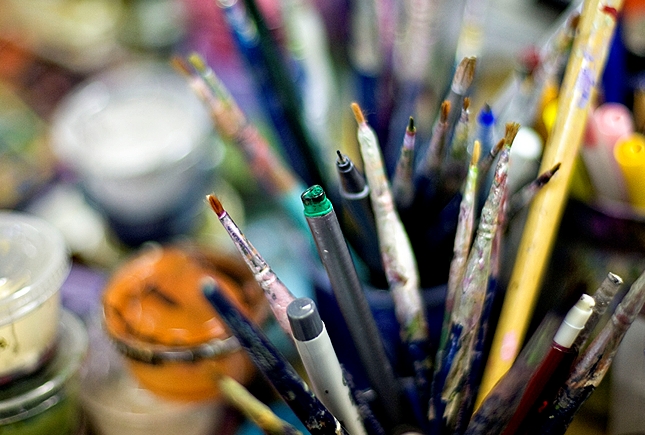
THE MATERIALS: You will need 1.) A finely knit sweater. Heavy, course cable knits just won’t work. 2.) A sharpie pen, fine point. 3.) Pencil, optional if you are nervous to dive right in with the pen. 3.) Acrylic paint (Liquitex is my preference) 4.) Clean water for mixing. 5.) Paper towels. 6.) Small plastic mixing cups or empty egg cartons. 7.) Stiff bristled brush (#2 from Loew-Cornell with the blue handles are my fav)
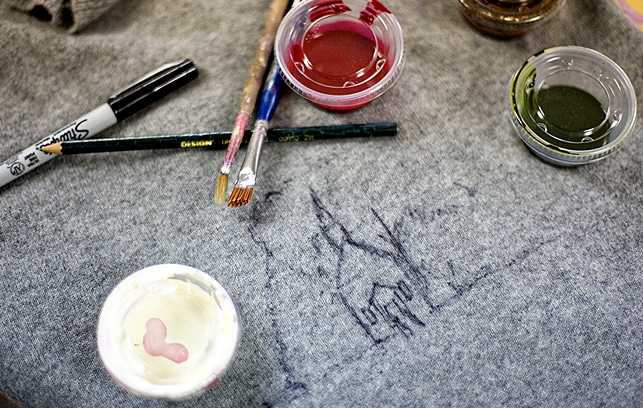
THE HOW-TO, drawing:
1. Choose your image well. Simple shapes, basic colors are best. I chose Yosemite Chapel in honor of my current client Sheri and for its iconic shape and clean lines. Flowers are fun too, but again keep it simple, for example…gerber daisies verses lilies.
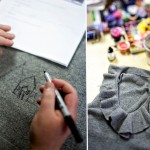
2. Sketch the image in pencil if you are not too experienced with sketching. If you are experienced dive right in with the Sharpie. ***BIG TIP – make sure you place a piece of cardboard underneath the area to be sketched and painted. This will prevent any unwanted bleeding of ink to other parts of the sweater. Think of your sketch in terms of basic shapes. For example, the chapel is made up of a square (bottom), rectangle and triangle (steeple).
3. Once you are pleased with your pencil sketch, go ahead and trace with the Sharpie pen. This will give you a strong guide when painting begins
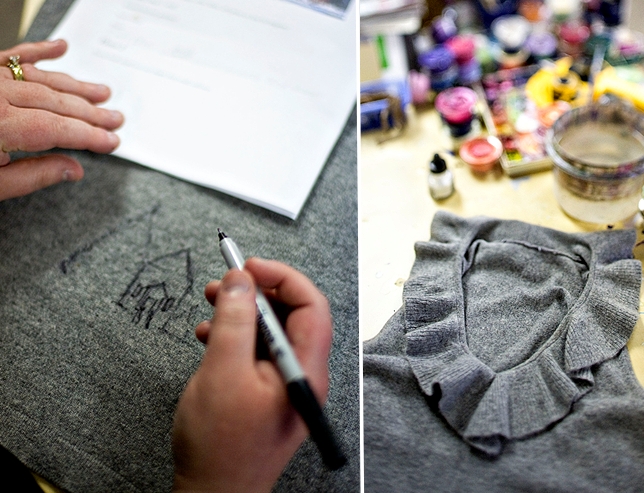
THE HOW-TO, painting:
1. Your desired colors in separate containers, each with water about a 2:1 ration, paint to water respectively. This mixture will give you a smoother textured paint which will apply easily to the sweater material. Here I used a Cadmium Red Deep, Emerald green with white set aside for highlights to be added later.
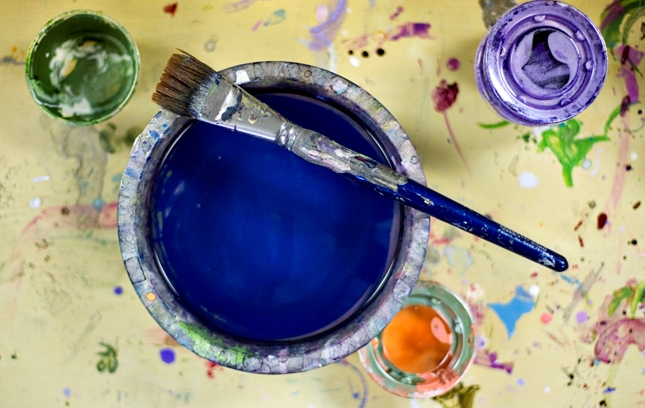
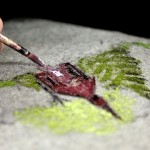
2. Begin applying paint. Use short, stabbing strokes to apply paint. You will notice the texture of the sweater resisting the paint a bit. Not to worry, simply layer the strokes until you have the desired paint coverage.
2. Continue adding color to each area of your sketch. If an area seems too wet, simply move on to another color and allow that area to dry a bit.
3. Once you have filled each area with the desired color you can then go back and add highlights. This is done by mixing each color with a bit of white to create a lighter version of that color.
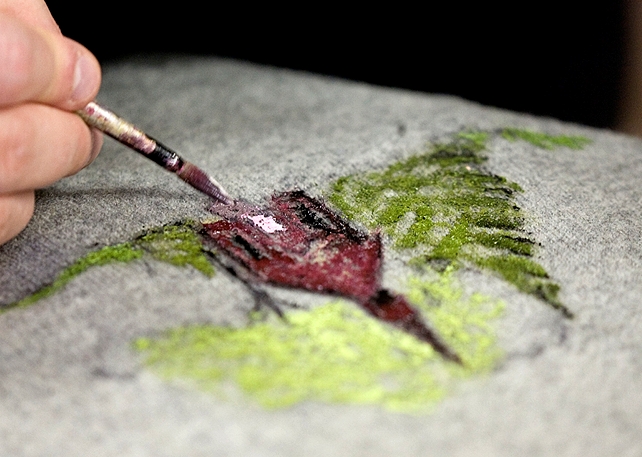
3. Add highlights carefully and do not press down with your brush too hard. Just barely touch the surface to add some sparkle of lighter color here and there. **BIG TIP Once the artwork has completely dried you can opt to revisit the sketch with a Sharpie pen. Re trace some of your original lines to add a last touch of definition for that perfect look!
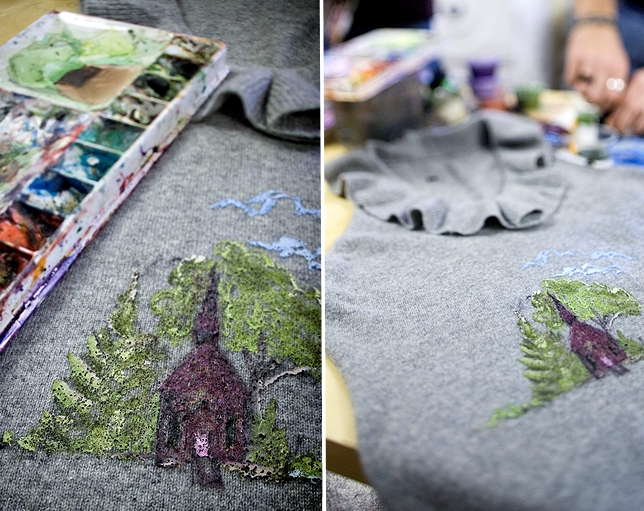
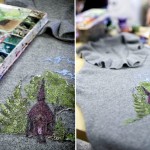
THE FINISHED LOOK:
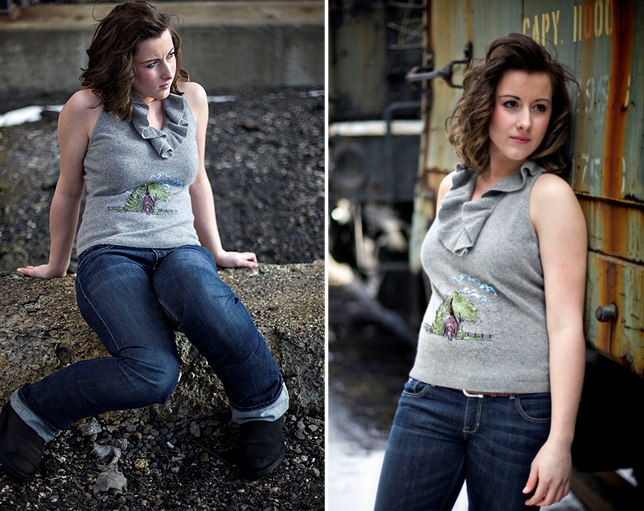
So I wish you well in painting your own sweater. Please get in touch with any artwork or paint questions you have may have. I would be happy to help! Be sure to stop by Perfect Bound for more on this artistic project!
A massive thanks to Daniel Lanton for all the stellar shots and to Amanda our model, who had never modeled before, but as you can see, took easily to the task!



 View the Gallery
